این آموزش به درخواست MH3D12 در سایت قرار گرفته است.
![]()
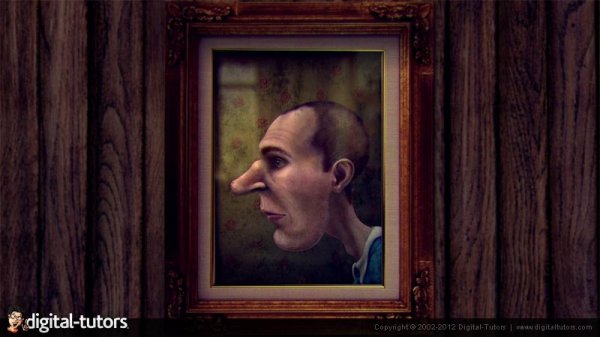
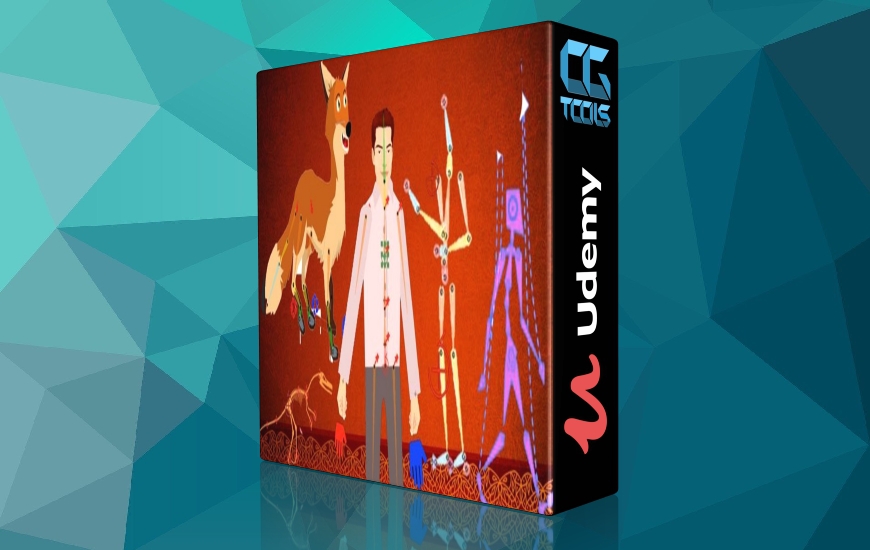
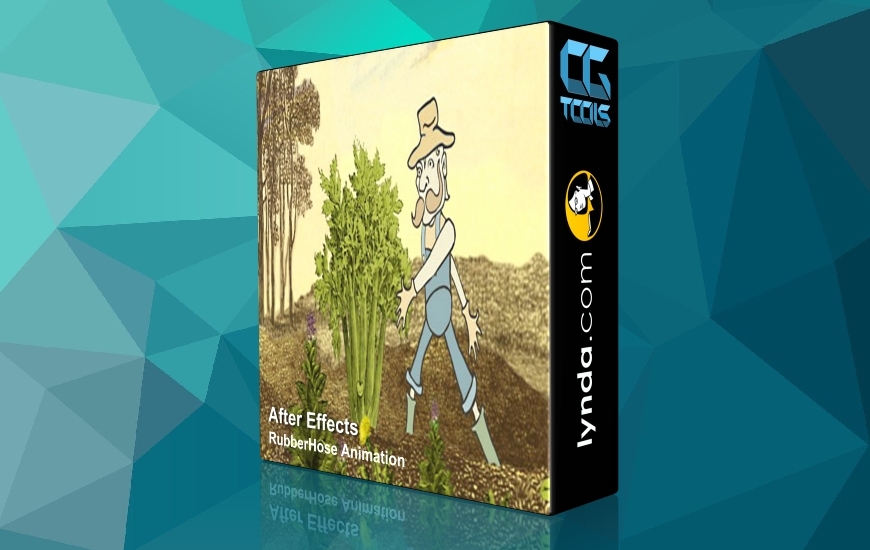
Digital Tutors - Rigging and Animating 2D Characters in After Effects CS6
Time : 12h 47m | Size : 4.91 GB | Project Files : Included | Software Used : Photoshop CS6, After Effects CS6, Duik Tools ver.13.0.2 and FreeForm Pro Plug-in for CS6
با سلام
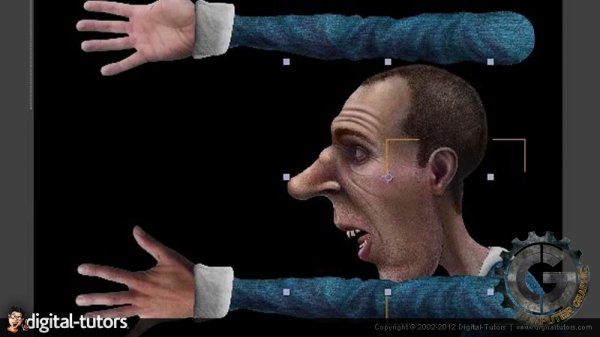
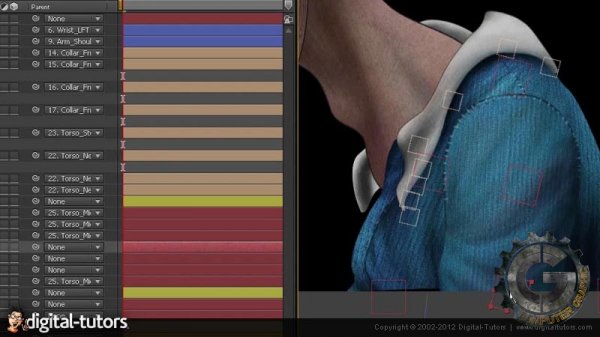
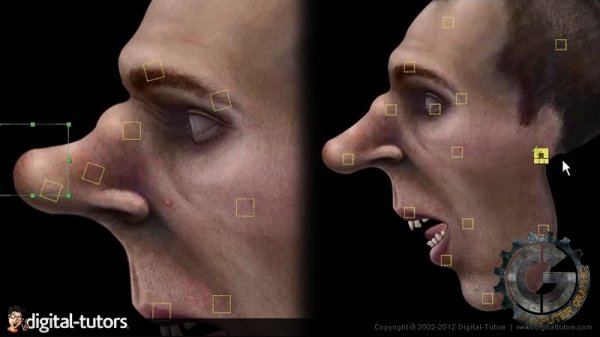
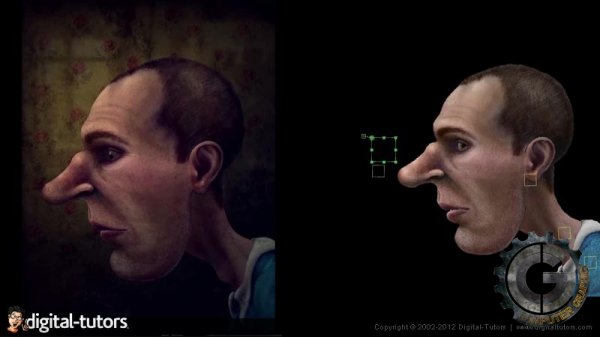
در این آموزش نحوه ی انیمیت یک کاراکتر سه بعدی را در نرم افزار افتر افکت به شما آموزش می دهیم. در این آموزش ما به شما نحوه ی ریگ کردن و انیمیت یک کاراکتر به طوری که به صورت کاملا موثر حرکت دهی شود را به شما آموزش می دهیم.در طول این آموزش شما متوجه خواهید شد که افتر افکت چقدر می تواند برای حرکت دهی یک کاراکتر قوی باشد ، ما تمامی مراحل را به صورت دسته بندی شده به شما آموزش می دهیم . ما ابتدا به شما فایل فوتوشاپ حاوی کاراکتر رنگ آمیزی شده را نمایش می دهیم و سپس به سرعت وارد نرم افزار افتر افکت شده و شروع به ریگ کردن کاراکتر می نماییم . تمامی مراحل به صورت قدم به قدم تا حرکت دهی نمایی کاراکتر را به شما می آموزیم.
مشاهده توضیحاتــ انگلیسی
In this After Effects tutorial we will learn how to assemble, rig, and animate a richly detailed and dynamic character inside of After Effects. Throughout these lessons we will see just how powerful After Effects can be when doing advanced character animation. We will venture well beyond the basic paper cutout style of character animation that is often associated with this approach by breaking down the steps required to assemble, rig and animate a richly detailed and dynamic character inside of After Effects. We will start out by reviewing the Photoshop file used to paint the character's layers and quickly move into After Effects where we will begin rigging the character using the puppet tool, null objects, nested compositions, basic expressions, Duik Tools for Inverse Kinematics and FreeForm Pro for the 3D head. By the end of this series you will have a thorough understanding of the many processes behind bringing a layered Photoshop character to life within After Effects.

